
Car stereo won’t turn on with ignition. Troubleshooting your car stereo
Every morning an ignition key starts your car and music, but this time your automobile audio system is silent even with the light being switched up. Several internal and external issues should be checked: a blown fuse, an anti-theft security system triggered by a dead battery, or a broken wire.
Any electronic device in your vehicle may have irregular problems with diagnostics. Unfortunately, when you get a radio that does NOT work, you could face complicated repairs and not just dissatisfaction from a silent trip. The positive thing is that some issues can be easily troubleshot and do not require audio system replacement.
A car stereo receives its power from a car battery and in case it malfunctions the stereo won’t turn, but sometimes the sound system may be off even when the power supply is ok.
In this article, we try to observe the most common problems with a car stereo system and suggest you solution.
The issues car stereo won’t turn on with ignition
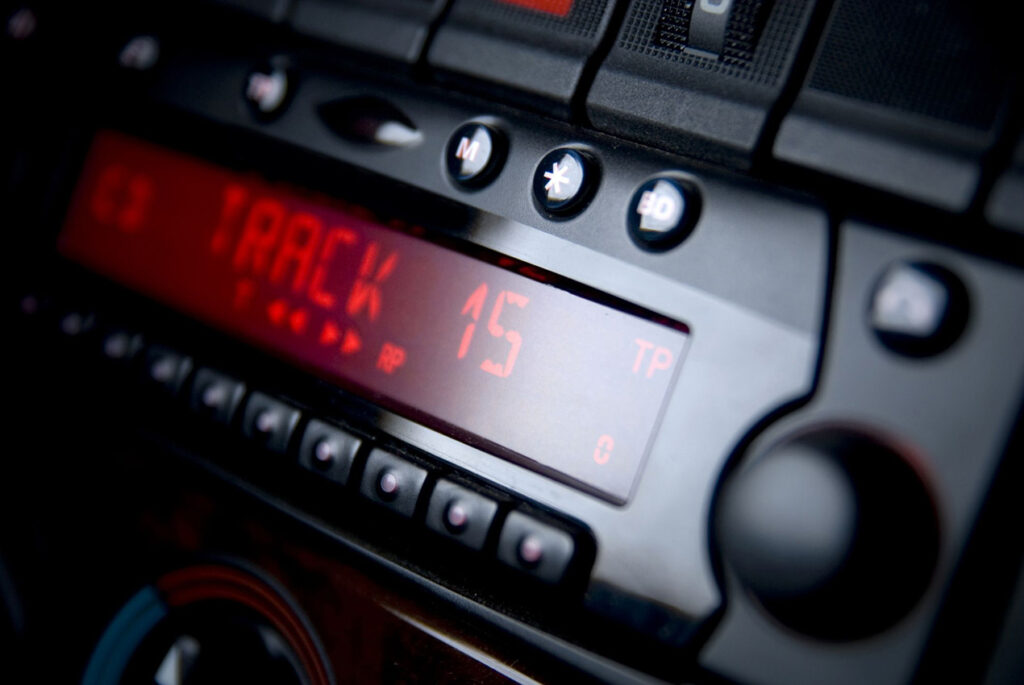
It is the most usual situation when you start the car, take your steering wheel ready to drive, and hear the silence instead of car audio sounds.
Firstly, you check whether the power button is on, then try to add the volume level. This is done without any negative thoughts because you may have probably forgotten that speaking over the phone last time, you turned the sound off.
Nothing happens again? You press the car power button once again and change radio stations but no sound comes from the loudspeakers.
Now is the right time to troubleshoot the cause of malfunctioning thoroughly.

Car stereo won’t turn on but it has power symptoms
The alternator produces a whining noise, and the sound system creates a foul sound. Show some ways to check whether your car audio units work properly.
It always happens when the power line doesn’t work correctly or doesn’t receive proper voltage, the head unit won’t work.
When looking into other power wires, examine your ground wires and change their position if needed for a better location for them to be grounded, such as the car’s chassis or body. Your vehicle’s body should serve as a good ground for the audio system.
If you bought a used car, so you cannot be sure that a previous owner grounded his audio unit to a negative battery post. So, it is better to complete the installation on your own, including all audio units.
Test the head units and replace them if needed
If your radio is powered or grounded but is not in an anti-theft-protected mode, then it probably fails and needs replacing.
If you are familiar with it, use the bench test method and find if the head unit needs a replacement. The test means you should connect the power coming to the wires. Two power wires and ground leads should be connected to 12V, positive or negative. Both a red and a yellow wire should show you the same voltage drop with a test light.
Besides, the yellow wire shows a 12V current, even if the vehicle isn’t running, while the red wire produces the same voltage only when the car is on. These features can be easily measured by a voltage meter.
A head unit usually comes with six different wires. Nonetheless, the power and ground will be in the car and your results may differ after the unit is removed. There may be reversible head units needed for maintenance.

Anti-theft mode turned on
The stereo head unit has a protect mode for a security feature to avoid stealing, as in such cases it becomes useless. Anti-theft protected mode is also responsible for preventing the head unit from functioning in case of a sudden power fault.
Anti-theft security measures are logical, as in case of the head unit is stolen, it becomes useless for a burglar like a plastic box with wires and screws.
Such security code is shown on the screen and may be switched off by inserting some code numbers. Sometimes the head unit may switch on this feature on its own and send a message that it is on to the display. To troubleshoot and solve the problem, you should consult the owner’s manual.
In a case when a head unit display shows no anti-theft mode or is totally blank, it means that the unit fails to power on, that is an indication that shows you another problem to be solved.
Blown fuse
After confirming that your head unit has failed in its charging mode and there is no problem with an anti-theft mode, so it is time to check the condition of a fuse. If there is a blown fuse or the power wire is melted, your stereo won’t turn.
Mechanics say that a blown-out fuse is the most common cause when your radio sound doesn’t get through but the power is on.
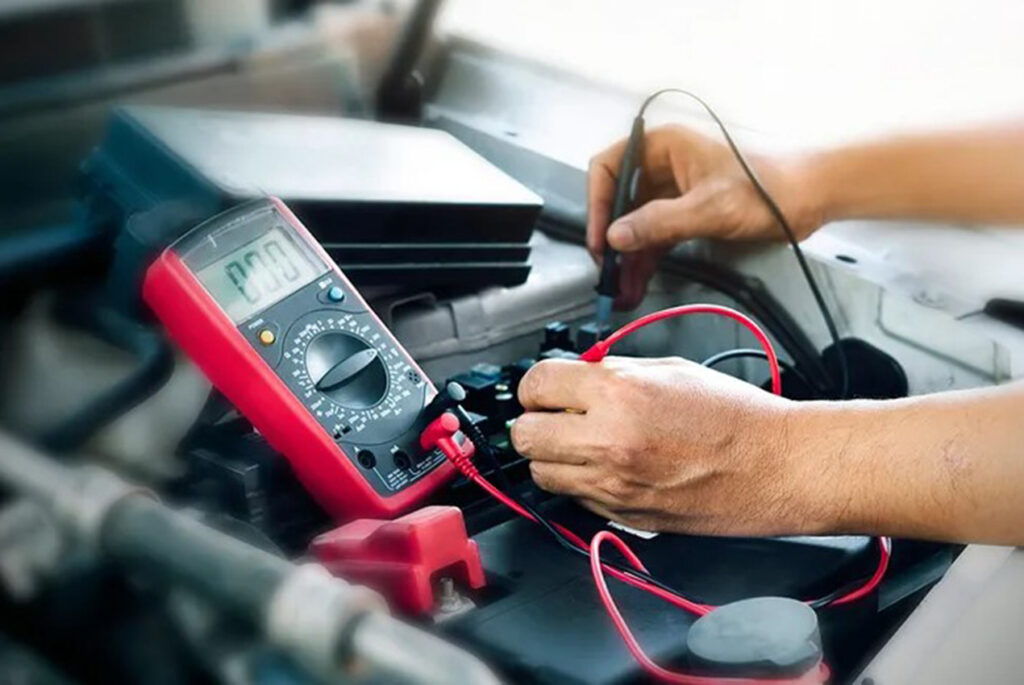
To test it, you need special equipment such as a multimeter or a test light. Each car stereo fuse should be checked to find a fault. One is located in a fuse block and easily found on the fuse.
Check out the condition of the built-in fuses of the car radio. Usually, built-in fuses are attached to the back side of the system but sometimes you may find fuses beside the power wires.
Troubleshooting blown fuses
You may visually observe each fuse to find damage or see if it’s burned out. Then take a multimeter or a test light to ensure the power supply is available on both ends of the fuse.
In case there is a problem with the fuses, you probably need to go to the mechanics to replace them, or your car stereo won’t turn.
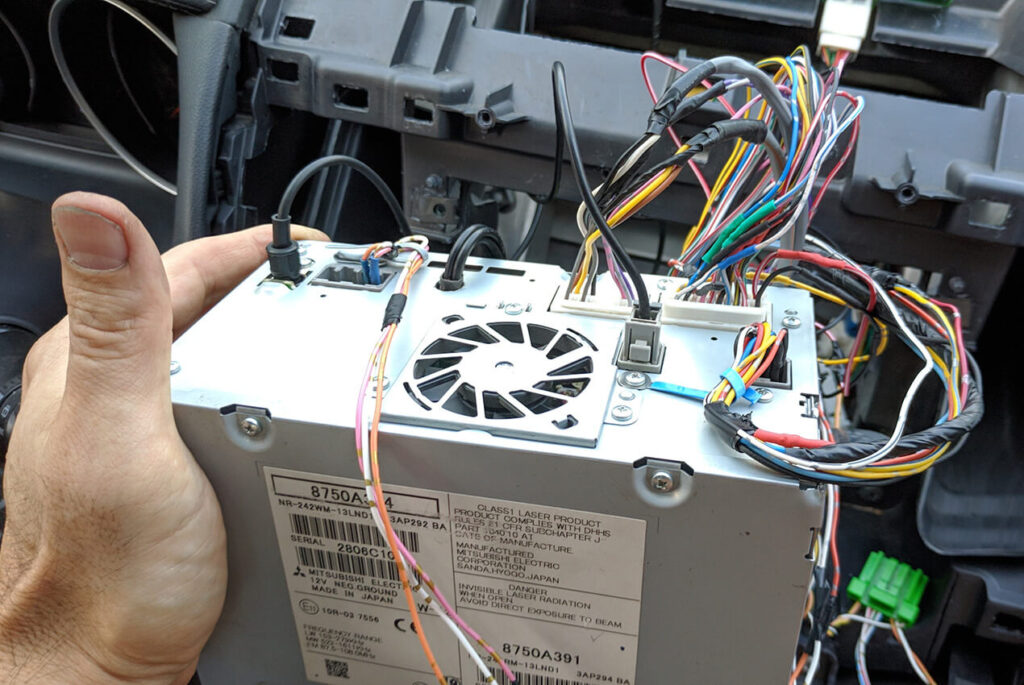
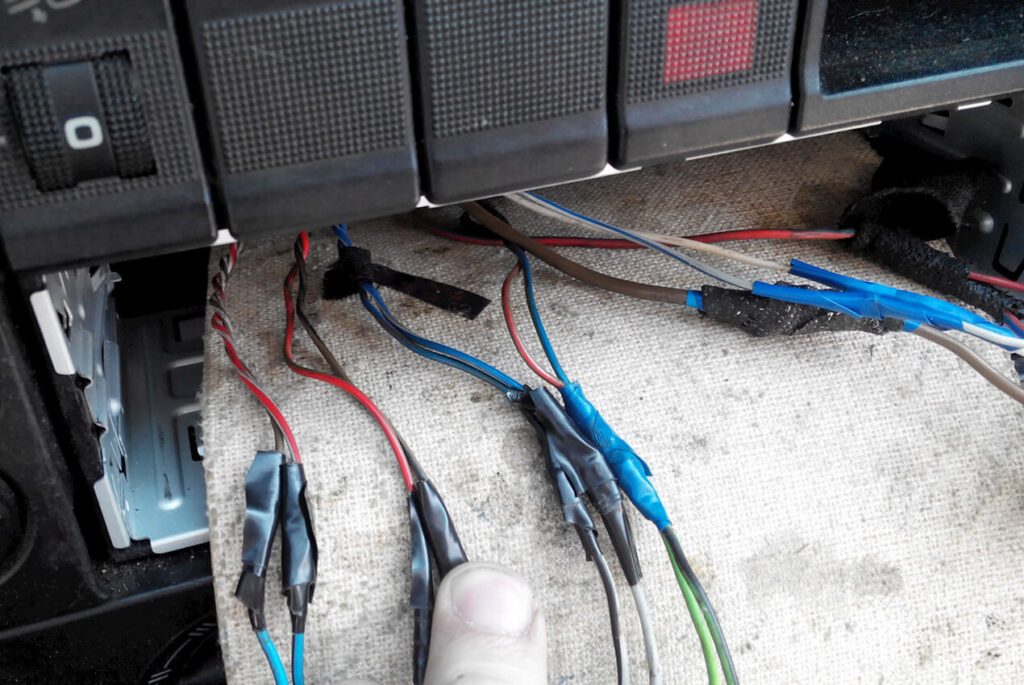
Pigtail connector issues
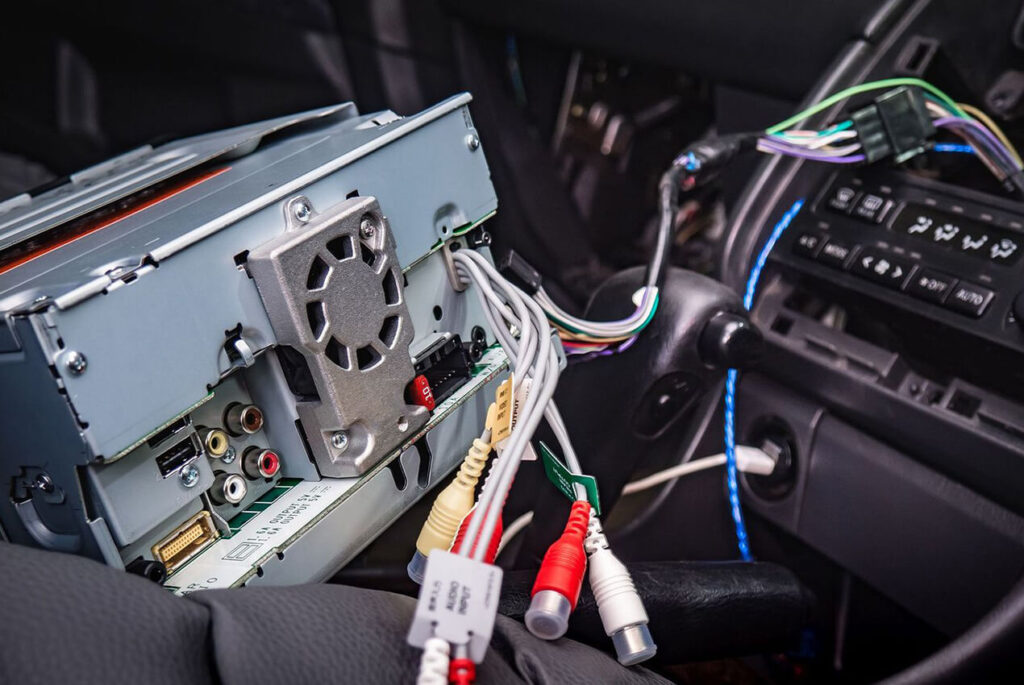
The recently connected car stereo won’t turn if there is a problem with the wiring. Usually, there are two wires, some models have 6 cables coming from a head unit. And they also should be checked for a proper attachment. If a head unit loses power, keep in mind to test the power line.
You need to be certain that the problem doesn’t go with the electrical connection. For this purpose, you need to remove the recently installed car stereo to find out the faulty issue.
Primarily, check whether the head unit pigtail is in its correct place and tightly attached. You may remove the pigtail connector and fix it once again to ensure it provides enough power through electrical units.
In case the problem isn’t found yet, check other wiring harnesses. The diagnostic process won’t take you much time, but it will ensure that a head unit is installed correctly, and you can fix it to the proper place and hide all the cables.
It happens if aftermarket head units have various wirings from the OEM stereo. In this case, consult the owner’s manual to see the proper location for each wire.
To ensure the wires are ok, the problem may come from the connection itself.
You can do a test of the battery voltage to determine whether you have loose or broken wires. Then check the black ground wire, and yellow and red wire have the appropriate voltage when the vehicle is off and on. Keep in mind also checking the ground wire with another metal ground to ensure it is in working condition.

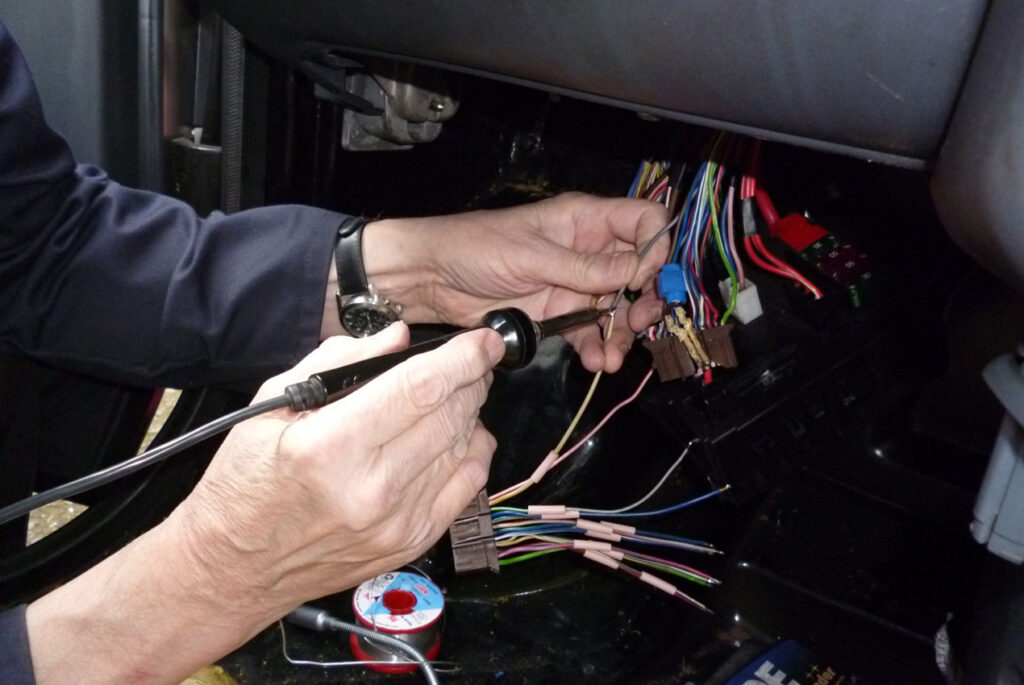
Ground issues at the head unit
Improper head unit wiring leads to several faults, and they are easily be troubleshot when you reattach all the cables once again and test them for correct voltage.
Even slight ground loops may also cause problems with head units or even lead to total failure of the whole audio system. That is why, after the pigtail connector is properly attached, check the ground wire whether is connected or not.
You may also find another place to guarantee a good ground connection to your device. Installing an aftermarket radio, you’d better use a separate ground wire directly to the car’s metal chassis to ensure proper electrical connection and functioning.
Check all the wires connections and inspect the ground cable to ensure that there is no loose connection or corrosion on any element. Then reattach the wire for a tight connection, or place your ground wire to another metal construction.
Use a multimeter to test the ground between the unit pigtail and the ground on the body of your car. A bad ground won’t cause the head unit to fail, but in case the ground lost its connection, it may cause damage to the head unit.
Damaged wires
When you have already checked all six wires, and their proper connection, the cause may be in damaged joints between your car stereo and the speakers. Corrosion may also prevent any current go through cables, causing no sound to come from your car audio unit‘ speakers.
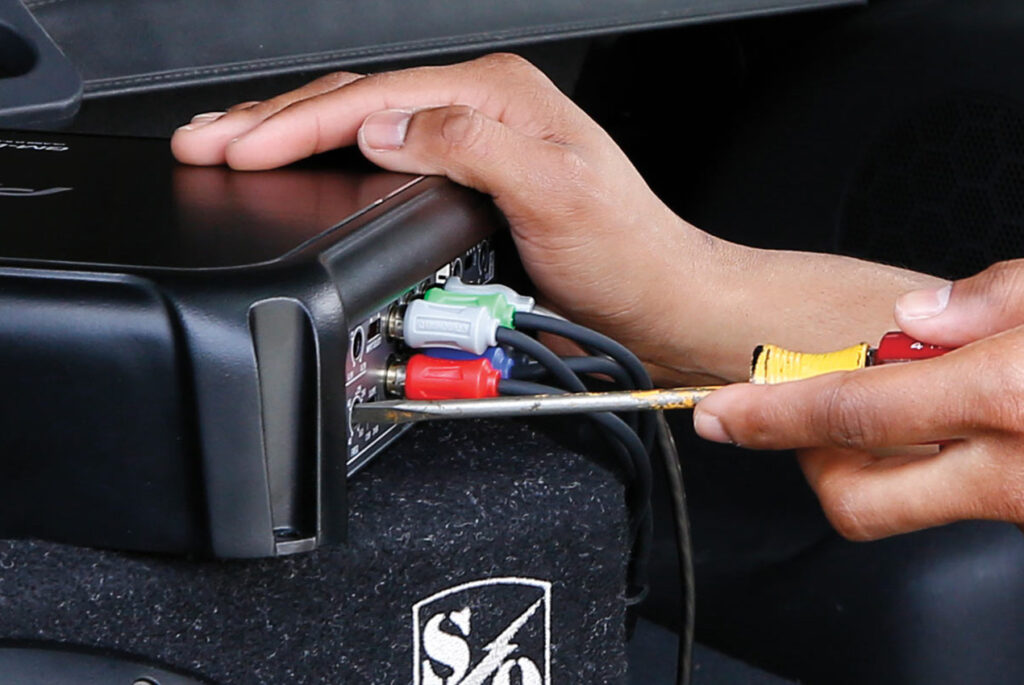
The wiring harness is divided into different directions: speakers, power lines, and accessories such as subwoofers.
Most car radios have 2 power cables. One power wire transmits the power to the memory, it is always hot, while another cable is cold until you do not insert the key into the ignition. If these power cables are mixed, the radio won’t make a sound at all.
Troubleshooting damaged wires
You may visually supervise no loose cables are entering the harness. Double-check whether all the cables are plugged into the car stereo unit, there is no rust or corrosion and no twists.
Take special car stereo removal tools to slip into the edges of each panel and release the head from the mounting bracket. Now you can easily find any hidden cable and easily examine some groups of wires connected to cable harnesses.
Check the wires and cables for a short circuit inside the accessories also. If you find any damage, the wire should be replaced with new ones to solve the problem.
Short circuit in the audio unit
After you have already checked the anti-theft mode, cables, fuses, and power supply, and the audio unit still doesn’t make a sound, the issue may come from certain sections of a car stereo.
When listening to a car radio, you hear a sparkling or hissing sound, this may happen due to a short circuit. In such a case, turn the car radio off to troubleshoot the reason. You should also be aware that any additional voltage flowing inside the speakers may result in more serious problems, such as malfunction of the whole sound device.
Troubleshooting fused circuit
It takes time to replace all sound elements of the system that may create the short circuit, but this problem should be resolved. So, it would be a great way to ask for the help of professional mechanics in case you do not have special tools to establish new connections between wires and speakers.
The input or output jack went bad
Another reason the car stereo won’t turn in your aftermarket device is that it is defective, and the correctly attached wiring won’t help.
To solve the issue with a damaged device, you should turn your car’s engine off and examine the recently installed car stereo and all related components.
Push the power button to turn on the radio, as it doesn’t require any manual input. In case it works, but the music doesn’t come from a CD connected via AUX cable, it means that the input is damaged.
In this case, your input or output jacks should be replaced.
Alternator whines
Starting a vehicle and hearing your alternator making a whining noise while it’s not heard when the engine is switched off, the reason is a faulty ground from your head unit and a speaker amplifier. Replace your ground cables to another appropriate location, for instance to the vehicle’s chassis or body.
Firstly, attach the RCA cables from the car stereo unit to the amplifier directly and check if the noise disappeared. This means that intermediate components are out of source. And in case the noise is still present, the head unit is the problem.
In case your recently bought aftermarket amplifiers and subwoofers give loud sound, it means the car stereo provides extra power which the alternator cannot keep up.
Troubleshooting alternator issues
A capacitor should be attached to the circuit. It is used for bending the power spikes from the car battery to the amplifier and is responsible for providing continuous 12v power.
In some circumstances, including a capacitor with the right voltage, will transform your amplifier’s power spikes enough to keep your headlights from dimming.
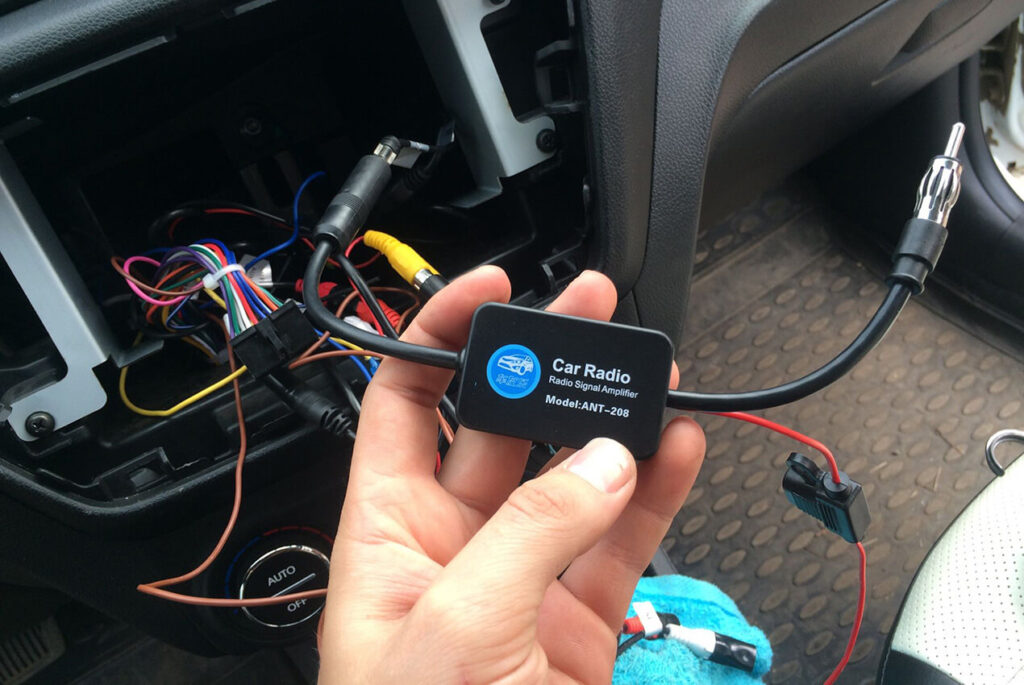
The connection between the antenna and a head unit
An antenna is usually underestimated device in your vehicle. It is responsible not only for transmitting waves to car radios but also is essential for such services as Bluetooth integration, voice commands, safety alerts, and navigation. The incorrect repairing antenna may lead to serious problems and not only the car stereo won’t turn.
Sometimes to install your car stereo unit, you need to remove the dashboard trim, be aware this may lead to frustration and be a waste of time, depending on your vehicle. Special tools are required to simplify the task.
For instance, the Amorkaa, 112 Piece Trim Removal Kit, has all the necessary tools to complete the task.
Before you start installing the car stereo antenna, disconnect the negative of your car battery or black terminal. Put the cable far from the battery terminal for security purposes, as the negative and the positive wires should never come into contact.
Then, check your manual for the instructions to remove the dashboard trim panel and a head unit, as they should be written there. Prepare nylon trim removal tools and precisely follow the manual’s instructions.
Never apply any force or sharp actions when you remove the panel. Sudden rude movement may cause the clip or the panel damage. Then loosen all screws or bolts with the help of a screwdriver. Keep all the fixings in some safe place not to lose any until you are ready to reattach the panel.
You may also require a screwdriver to remove your head unit in case it is fixed by screws. Different models have different requirements for installation.
How to examine an antenna?
The first step should be done examining your antenna is that it should be disconnected from your car stereo radio. A special device ohmmeter will be handy for this purpose. It is a low-cost device that is responsible for testing different electrical elements and lines for their resistance to current flow and electrical circuits.
The ohmmeter provides a power supply of a low-voltage battery. Being connected to a wire, it transmits low voltage to the tested element and displays the current resistance in ohms. Be aware, never use this device in a live circuit, as it may cause inaccurate measurements or damage to the ohmmeter.
A circuit with too much resistance doesn’t provide enough current flow; too little resistance allows an extreme flow of a current that may lead to damage. For instance, the good connection between the radio and antenna should be 5 ohms. In this case, the device functions correctly and doesn’t need any repair.
Otherwise, if the ohmmeter indicated more than 5 ohms, it means that your antenna is damaged and requires repair or replacement.
Before starting to examine your antenna with the help of an ohmmeter, turn it on and connect the two leads of the antenna with a head unit. The needle should be at zero before starting. If this doesn’t work out for you, I advise you to turn the calibrator knob on until it does or replace the battery if you still cannot get a zero reading.
Then remove the radio’s antenna wire and connect it to a meter-long lead with one end and the other end should be connected to the radio pin. Be sure that the ohmmeter indicates not more than 5 ohms. Turn the antenna while performing these checks and while moving the indication should not change.
If the results of these tests do not match the results given below, the antenna is defective and should be replaced. If, on the other hand, everything appears to be in order and the antenna is in good working order, you can consider taking the radio to a repair shop.
How can I repair a car radio that turns on but doesn’t play any sound?
There may be enough power to the car stereo and all wires are in proper condition. But when you push the power button of a car stereo, it works but doesn’t play any music. There are three methods to solve the problem
#1 Restart your car stereo system
Remove the ignition key from the ignition and stop the engine’s operation. Then leave the car to disconnect the negative jack from the car battery. Now you should better wait for an hour to recharge the battery. Bring a vehicle out to test if there is an issue.
#2 Reset factory defaults
If your car stereo won’t turn the audio sound after a restart, it might be worth doing an upgrade. Find an owner’s manual. You can follow their instructions and check for any problems.
#3 Firmware upgrade for the radio
It may be an aftermarket radio problem, with faulty firmware. This can be upgraded to remove any minor bugs which may cause this issue. You may also install new firmware from the manufacturer’s site.
Why won’t my radio turn on when I start my car?
If you start your car and hear no sound, the issue may be that your car has a dead battery and doesn’t start any element of a car. In this case, the battery should be recharged or replaced. But if the car starts and the car stereo doesn’t play, the problem is with a music device.
Most radios are dead because their fuse blows out. Every radio car has one fuse that shields the radio from an electrical surge. If your car stereo doesn’t start, you need to check the fuse box.
Most vehicles’ sound devices have one or two fuses that require to be checked. You may also find car amplifier fuses and other components. One will be situated in your car’s main or accessory fuse block.
Why does my radio have power but won’t turn on?
Some of the cables for this system have very weak wiring. The other electrical cord heats up when you press the ignition switch. If the stereo has been reversed, its functionality may cease to function. When power wires have zero voltage, they need replacing.
If your car stereo has an adaptor to connect the factory wiring and the head unit, check out this whole wiring system. First, you need to unplug all cables including a switch wire, and then reattach them to the proper locations tightly.
It is better to leave the wiring or pigtails unplugged for ten to fifteen minutes before you attach them back. Keep in mind that a loose connection will lead to a power outage and won’t allow correct functioning.
What color is the ignition switch wire for the radio?
The switch wire and its fuse are responsible for the appropriate operating order, as the voltage measured is 12 volts. Such wires are suitable for ignition and other accessories and usually have a red color.
How do you know if a radio fuse is blown?
In case the fuse is blown out, your radio won’t work. You may check this by opening the fuse box and finding the damage there. A damaged element should look like something burned out, having a brown color often. This may be checked without any extra tools.
If visually you cannot detect a fault, you may take a multimeter to ensure there is current on both ends of the fuse. A damaged fuse should be replaced. The procedure is not difficult if you have an extra one, but in most cases, you can go to the nearest mechanics to solve this issue within a few minutes.
How can I turn my radio on without the ignition?
There is a way to listen to music while the car isn’t running, only in case you have the key. You may insert the key without a starting car in the second position when the battery supplies all vehicle elements. Your radio should start playing if the button is on.
The same happens when you stopped your car and switched the engine off. The radio is on as the key is still in the hole, providing enough energy for the radio to function.
Conclusion
It is a typical situation when you start the car getting ready to drive but the car stereo won’t turn. It happens for several reasons, and most of them can be easily solved. Check the push button first, and increase the volume. The next stages are not so easy: check wires, fuses, or the head unit itself.
Sometimes you need to restart the car, fulfill manipulations with wires or check the antenna, but we believe that our article helps you to troubleshoot and enjoy the music coming from the radio.
Additionally, read the article about 5 reasons why your car radio may suddenly stop working.
